
Problem: You’re just embarking on a big, new project. You know that you want to be able to publish a paper in a good journal, something notable for your field. A hypothesis has been developed and is based off of some results from another lab member’s project. Now your professor has asked you to outline your paper and you’re at a loss other than Intro, Methods, Results, Discussion, Conclusions. So…now what?
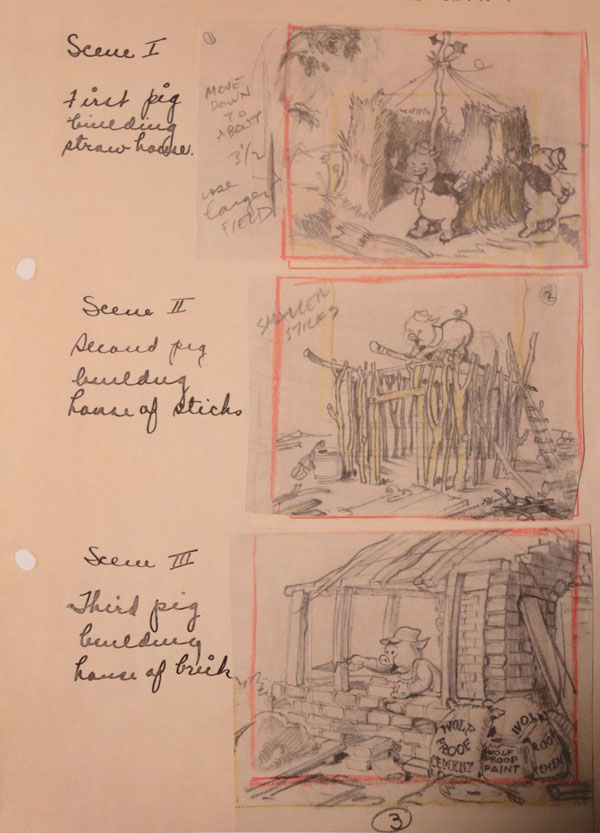
Introducing the Story Board! Pioneered by Walt Disney, the story board is a great way to describe a finished product by breaking it into it’s iconic pieces. As you complete sections you can add more parts and break the picture down further. In some circles this is known as chunking, and once you know your biggest chunks you can split them into smaller chunks.
Just like how you get through any big task, do one thing at a time. So long as you are taking steps forward each day, you will be surprised how far you can progress. The idea is that if you take each major section and break it down a little further, and then even further, you can figure out exactly what you need to research, write up, and perform in the laboratory.
The journey of a thousand miles begins with a single step.
Lao-Tzu
For an example, let’s work on the hypothesis that a known protein has a heretofore unknown signaling function that could improve a cell based cancer therapy. We already have our first big chunks of Intro, Methods, Results, Discussion, and Conclusions. From those we will develop smaller chunks. Good news is that even though the chunks are in that specific order, you can work on whatever section makes sense to you first! So let’s take our chunks and break them down until we know what to do in the lab and what experiments need to be performed for the project.

Results: I’m going to start here because for me, the experiments come first. (No reason to start here if it doesn’t make sense to you. These are tools, use them how they fit you.) We will definitely want to start with the basic experiment that showed the potential signaling function, that’s the first figure. The next stage is to figure out the different parts of your figure. One major thing you don’t want to do is to try and think of what any of these experiments will have for data.
Danger of the Technique: The focus when story boarding needs to be on what has to be done, not on the expected results. When people, much less scientists, visualize what the results are supposed to be they are more likely to ignore any data that shows otherwise; this is otherwise known as confirmation bias. It’s easy to recognize something as a bias in a hypothetical, a thought experiment, or as someone else’s flaw and much more difficult to see within yourself. The most dangerous thing about using a story board is to imagine your data before you have it, it can derail good science into work that is only self serving. Science is about finding the truth, and not seeing what you want instead of the truth.
With that knowledge in mind, focus on what experiments are needed to complete your paper. If you are a visual person, draw out the parts. If you are a verbal person, write out what you need in an outline. The idea of a storyboard is to have something to help guide your progression to the end goal. If you feel that you would like more detail for a certain section, add it. If you want to jump around, expand and adjust areas as you tackle them. One of the best things about a story board is that it is a flexible tool, and something you can customize to your needs.

Methods: Looking at each of the figures and figure parts you can plan out your experiments. Methods can be the easiest part of writing if you approach it in a purposeful way. The methods section will mirror your results, with the same parts and idfferent details. As you perform your experiments, get a jump on your paper by writing your methods sections as you go. By tackeling methods frequently and as experiments are performed, you will lose less information than if you rely only on your notes.

Discussion: For the storyboarding of this point, focus on the topics you want to discuss. The discussion section is a place to compare the work you are putting on display against the backdrop of things previously known in the field. Set up your boxes, or bullet points, to highlight the key elements of your research. Whatever your paper is about, this is the time to try and get people excited about what you have shown and the possibilities this research now creates.

Conclusion & Introduction: These are your heavy hitting sections where you draw readers in and give them hope for the future. In the introduction, storyboard why this protein has been important in the past and possibly explore any gaps in the knowledge that help guide your readers to your current experiments. In the conclusion, storyboard the key points you want to leave any readers with. I have known people when perusing papers to read the abstract, introduction, discussion, and conclusions to determine if the paper is worth reading the detailed results. Wrapping up is difficult but by using a storyboard you can help guide your writing to focus on the critical pieces and leave the reader either eagerly waiting your next paper or satisfied with a job well done.

And that’s it! Your storyboard is now complete. Key features of this tool are the ability to group or chunk pieces of the paper and break them down to more easily dealt with steps and the ability to give yourself a scaling picture of the work to be done. Not all of the storyboard needs to be totally developed when starting which lends to its flexibility. I hope you are now able to use the storyboard the next time when you find yourself trying to begin your next journey project.

Good luck!
-Colleen Stubbs, PMP in the Lab
